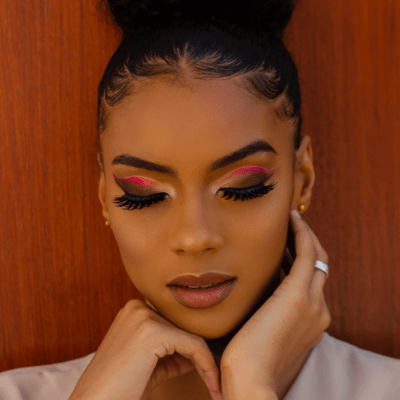

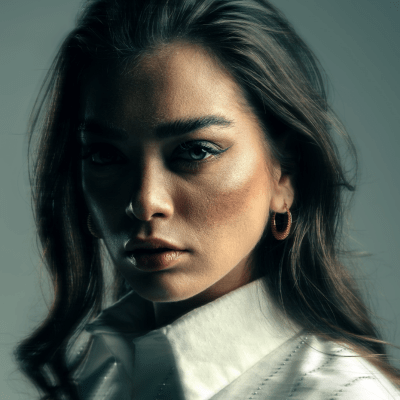


12 Easy Eyeliner Designs for Beginners: A Step-by-Step Guide for Every Eye Shape
July 02,2026
Getting an Easy Eyeliner look sounds completely manageable until you actually sit in front of the bathroom mirror at 7 a.m. trying to force both eyes to look somewhat related. Usually, one line gets way too thick, the wing decides to point towards the ceiling, or the inner corner suddenly turns into a heavy, dark blob. Honestly, that struggle happens to pretty much everyone learning makeup. Beyond just stamping a black stripe across your lid, the right pigment placement alters the perceived shape of your eye, adds necessary depth, and tricks people into thinking your lashes are much fuller than they really are.
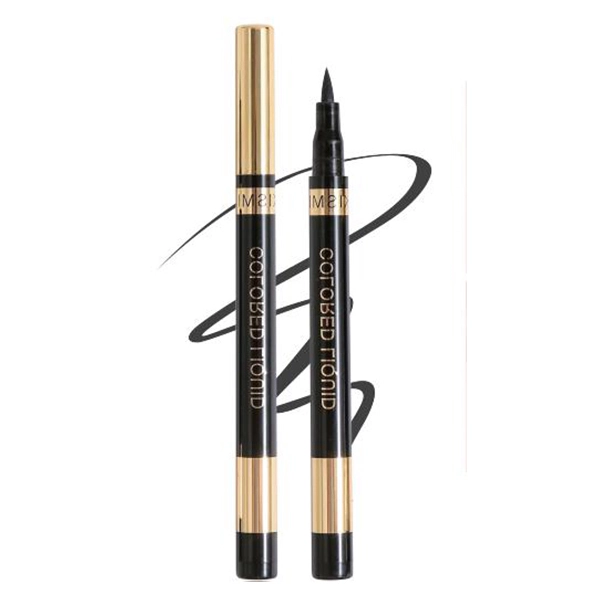
Focusing on daily cosmetic essentials, BGVE Beauty provides tools that forgive shaky morning hands. Specifically, their eyeliner pen features a 0.1mm fine tip alongside a quick-drying formula. This ultra-thin applicator is a practical match for novices because it forces you to draw tiny, manageable strokes rather than attempting one terrifying, continuous swoop across the eyelid.
Why Eye Shape Matters Before Drawing Eyeliner
Before trying to replicate some makeup tutorial you scrolled past online, you have to take a hard look at your actual eye structure. A dramatically long wing might beautifully lift an almond shape but will completely disappear into the skin folds on hooded lids. Similarly, painting a thick, solid black border might frame massive eyes nicely but will instantly make smaller features look tight and closed off.
Eye Shape Basics
Most faces do not fit one perfect geometric category, so just treat these guidelines as helpful clues. Almond eyes can basically get away with wearing almost any liner style without looking awkward. On the flip side, round eyes usually benefit from an outer-corner extension to stretch the horizontal width. Because thick bands of color simply vanish the second your eyes pop open, hooded lids demand keeping the pigment paper-thin and extremely close to the lashes. Monolid structures tend to look fantastic with a slightly heavier outer boundary. If your eyes have a naturally downturned angle, adding a lifted tail makes the whole face look noticeably fresher and more awake.
For close-set features, the smartest trick involves keeping the darkest and thickest part of your makeup strictly on the outer half. Wide-set eyes can handle a little extra detailing near the tear duct to pull everything inward.
Beginner Line Control
The absolute easiest rule you can follow is to start much thinner than your brain tells you to. Plant your elbow firmly on a solid table, keep your facial muscles relaxed, and build the color using very short strokes right against the lash root. Never pull or drag your eyelid skin too aggressively, otherwise your carefully drawn line will bounce back into a jagged wave the second you let go.
Using a liquid formula drastically improves your control here. Liquid eyeliner creates a smoother line and offers the best long-lasting effect of any eyeliner. It is exceptionally water-resistant and sweat-proof, making it highly applicable for people who sweat easily or possess oily skin.
Easy Eyeliner Designs for Common Eye Shapes
These 12 concepts cover a mix of daily, softly smudged, lifted, and slightly playful aesthetics. You absolutely do not need to memorize the entire list. Just grab two or three that physically suit your face and fit into the actual time you have before heading to work.
Soft Everyday Lines
Natural Tightline: Instead of painting above the lashes, gently push the color right between the upper lash roots. This technique makes your lash line look naturally dense without leaving obvious traces of makeup, serving as an excellent trick for small eyes or strict office environments.
Thin Lash-Line Liner: Keep your pen practically touching the upper lashes. Because it adds subtle definition without shifting your natural anatomy, this remains the safest Easy Eyeliner approach for novices.
Soft Brown Liner: Switching from black to brown delivers a softer vibe. It wonderfully hides minor hand-shakes and works for school or casual daytime dates.
Half Liner: Dragging the color solely from the pupil outward stretches the eye horizontally, pulling the viewer’s attention away from the center. This fixes the proportion of close-set eyes effortlessly.
Puppy Liner: Rather than flicking up, you simply follow the natural downward slope of your upper lid. This creates a gentle, rounded appearance when you want something sweeter than a fierce cat eye.
Smudged Gel-Style Line: Sketch out a rough boundary and immediately blur the harsh edges with a tiny brush or a cheap cotton swab. It flatters round shapes and appeals to anyone who likes a smoky, lived-in finish.
Lifted and Elongated Wings
Short Wing: Just tap a tiny flick at the outer corner. Keeping it under 5 millimeters makes the process lightning-fast if you fear dramatic wings.
Classic Wing: Aim the tail precisely toward the tail of your eyebrow. First, construct the outer wing, and then drag the line backward to connect it with your lashes. Almond and slightly upturned shapes rock this perfectly.
Kitten Wing: Think of this as the much smaller, less intimidating sister of the dramatic cat eye. It offers a reliable Easy Eyeliner option for those craving a subtle lift without feeling overly dressed up for a Tuesday morning.
Smoky Wing: Draw your standard short wing, but grab a blending tool to soften the sharp borders before the liquid fully sets. It visually lengthens round outer corners without leaving a harsh, stamp-like border.
Inner Corner Accent: Gently tap a tiny, sharp point right at the inner tear duct to bring wide-set eyes closer together. Skip this entirely if allergies make your eyes water constantly, or it will just turn into gray soup.
Subtle Graphic Line: Floating a tiny, disconnected stroke just above the outer crease adds a fun, playful element. It definitely fits a relaxed weekend brunch way better than a rushed Monday commute.
How to Apply Each Design Step by Step
Once you figure out what design to attempt, the actual physical technique gets way less stressful. Almost every rookie disaster stems from rushing the application.
Base Line Method
Rely on this exact process for your tightlines, half liners, and thin borders. Look straight into the mirror and drop three tiny dots along the lash line: inner, middle, and outer. Carefully bridge those dots with overlapping short strokes. Keep the inner section skinny, saving any extra thickness exclusively for the outer third. If things get bumpy, do not try to fix it by piling on more liquid. Just grab a cotton swab dipped in makeup remover to carve out the mistake. That saves way more time than accidentally turning a subtle line into a panda eye.
Wing and Smudge Method
Use this strategy for kitten, classic, and smoky wings. Start directly at the lower lash line and mentally extend its natural upward trajectory. Stamp a tiny dot exactly where the tail should stop, drag a line back down to the outer corner, and color in the resulting empty triangle. For heavily hooded lids, you must check the wing trajectory with your eyes fully open. If your skin gets oily, physically force yourself to wait 10 to 20 seconds before blinking hard so the wet pigment actually locks down.
What Mistakes Should Beginners Avoid?
Even the most expensive cosmetic tool cannot magically fix a shape that aggressively fights your natural bone structure. A solid cosmetic routine should eventually feel effortless enough to repeat while half-awake.
Heavy Inner Corners: Piling dark ink near the tear duct shrinks the eye, looking cramped on close-set faces. Keeping the inner corner bare makes most daily Easy Eyeliner styles look much fresher.
Product Mismatch: A soft, smoky shadow look demands a creamy texture that likes to move. On the flip side, drawing a razor-sharp tail requires a steady, wet applicator. Using the wrong consistency makes the job ridiculously frustrating. BGVE Beauty’s products are highly functional here, seeing as their eyeliner pen features a water resistance level of IPX6. This specialized design prevents frustrating smudges and easily withstands daily sweating.
The absolute best Easy Eyeliner design is rarely the most complicated viral trend. It is simply the one that correctly matches your anatomy, stays relatively neat, and somehow still looks presentable after a chaotic lunch break.
FAQ
Q: What Is the Best Easy Eyeliner Style for Beginners?
A: A thin lash-line liner stands out as the ultimate Easy Eyeliner starting point. Because it stays incredibly close to your natural lashes, it visually thickens the roots and works on almost every facial structure while being miles easier to correct than a massive, wonky wing.
Q: Should Beginners Use Black or Brown Eyeliner?
A: Grabbing a brown pencil or pen is generally much smarter for novices because the muted color looks inherently softer and famously hides tiny hand-shakes better than jet black. Black pigment offers intense, aggressive definition, making it the better choice when you confidently want a razor-sharp, flawless boundary.
Q: How Can You Make Eyeliner Last Longer on Oily Lids?
A: Always start with completely bare, dry skin. Pick a rapid-drying, water-resistant formula, and purposefully keep your initial layer super thin. You have to let that wet ink set for a few seconds before blinking aggressively or touching your mascara wand.