



Why Does Nail Polish Bubble and How Can You Prevent It
October 15,2026
The color looked smooth when you put the brush down. A little later, the surface is covered in tiny bumps. Adding another coat seems like the quickest fix, but it can leave you with a thicker manicure and the same uneven texture underneath.
If you’re wondering why nail polish bubbles, start with the thickness of the coats, the condition of the polish, and what happened between layers. Air caught during mixing or application, along with uneven drying, can leave pockets in regular lacquer. You don’t have to replace every bottle or change your whole routine at once. A careful look at when the bumps appeared is a more useful starting point.
This guide is about ordinary, air-drying nail polish. Gel polish needs its own instructions, including the specified lamp and curing process. A lamp won’t correct a bubbling problem in regular lacquer.
BGVE develops and manufactures nail polish and other color cosmetics, supporting beauty brands with OEM/ODM services from formula development and sampling through production and packaging.
First Check What You Are Actually Seeing
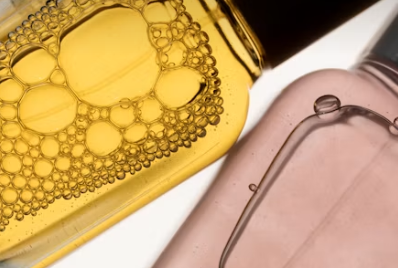
Bubbles are small raised pockets within the polish film. They may appear while the coat is drying, even if the surface looked fine at first. A piece of lint usually looks like a thread or a single irregular bump. Streaks follow the path of the brush, while a dent often appears after the nail touches something before the coating has fully hardened.
Those distinctions matter because the fixes are different. Waiting longer won’t remove a fiber already stuck in the color. Brushing more polish over a thick, soft layer won’t necessarily stop bubbles either.
Look at the affected nails under a steady light before changing anything. Did every nail develop the same texture? Were the last nails worse than the first? Did the trouble start only after top coat? You may not be able to prove the cause from appearance alone, but these observations narrow the next attempt.
|
What you notice |
What to check first |
A useful change next time |
|
Bumps already visible on the wet brush |
Air introduced during mixing |
Follow the mixing directions and let visible bubbles settle |
|
Smooth color develops bumps while drying |
A heavy coat or rushed layering |
Use thinner coats and follow the recoat instructions |
|
Color is smooth until top coat goes on |
Top-coat thickness and product pairing |
Try a thinner layer of a compatible top coat |
|
One raised speck or a trailing line |
Lint or dust |
Clean the work area and use a lint-free pad |
A Heavy Coat Is Worth Checking Before Anything Else
Regular lacquer dries as volatile ingredients leave the applied film. A thick coat gives that process more work to do. The surface can start to set while material underneath remains soft, so a nail that seems touch-dry may still dent or develop an uneven surface.
It’s easy to apply too much with pale shades. The first coat looks translucent, so you load the brush again and try to make it opaque immediately. Instead, treat that first layer as the start of the color. Build coverage with further thin layers only as directed for the product.
Reduce the Amount Without Scrubbing the Nail
Wipe excess polish from the brush at the bottle opening, leaving enough for a smooth stroke. The brush should move across the nail without pushing a ridge of liquid ahead of it. If it drags or leaves bare tracks, loading it with almost no polish isn’t helping either.
Use a few controlled strokes and leave the coat alone. Going back repeatedly over a section that is beginning to set can produce a rough finish. On the next nail, adjust how much product you pick up instead of trying to repair each mark while it is wet.
For matte color, follow the particular finish instructions. The Matte Nail Polish product page, for example, identifies a liquid matte formula. That finish name doesn’t tell you how thick to apply it or whether a separate top coat is appropriate. A glossy top coat will also change the appearance you chose.
Give Mixing and Drying Their Own Time
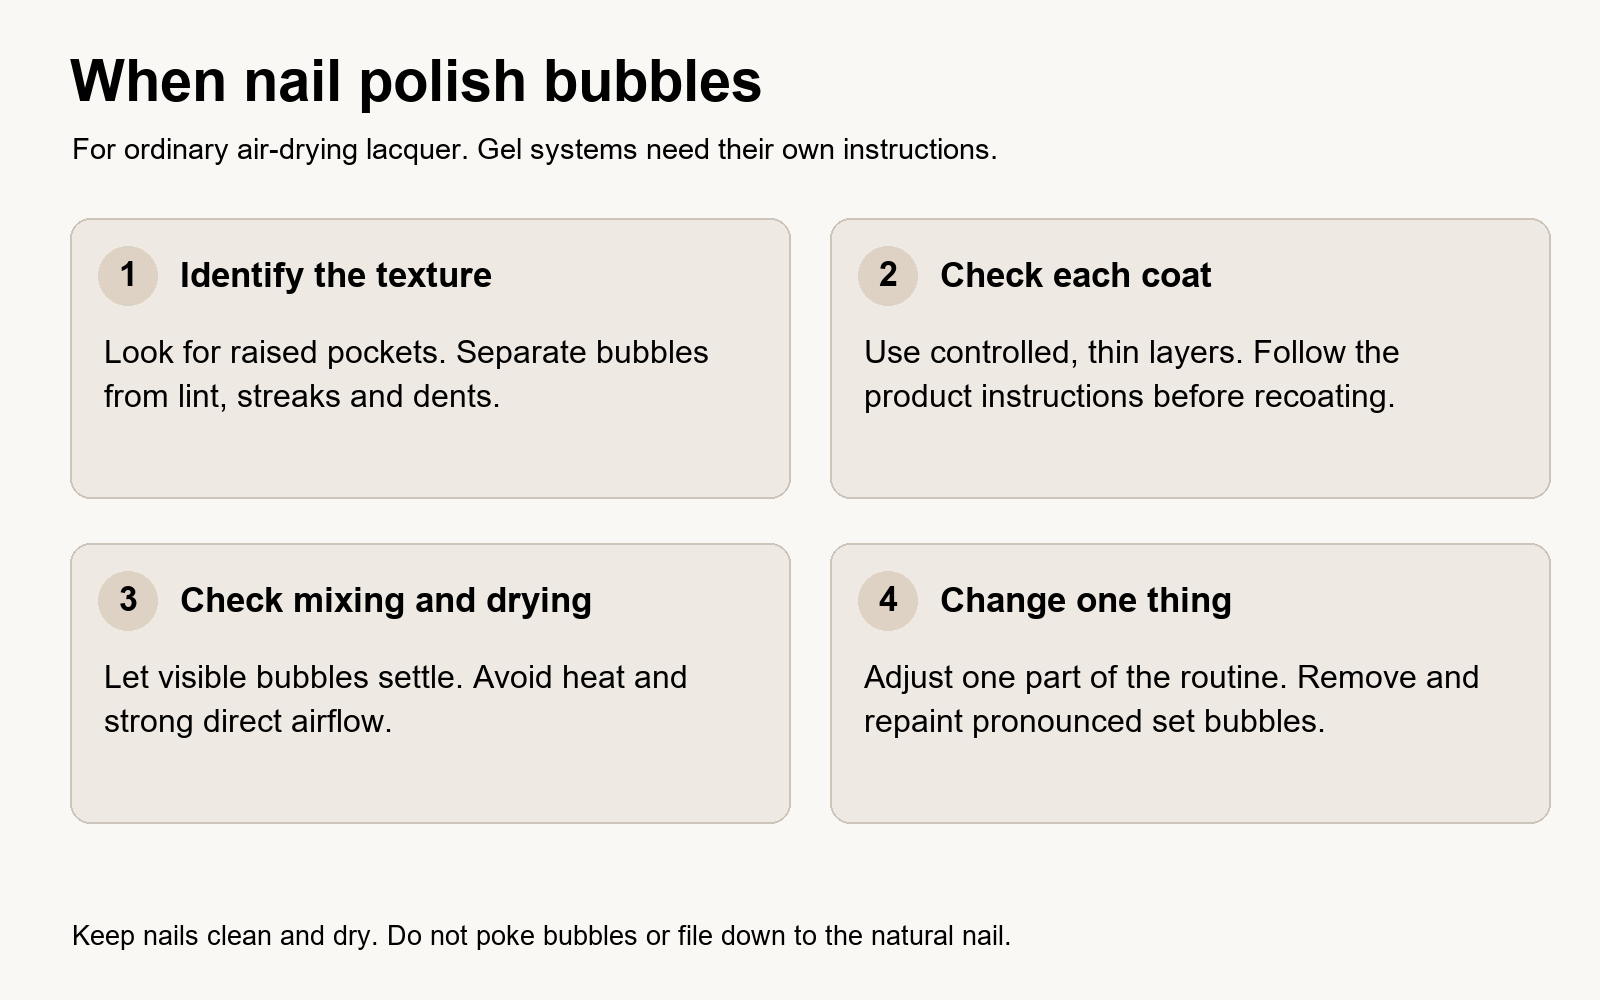
Some bottles need mixing before use. Follow the label rather than assuming every formula should be treated the same way. Vigorous shaking immediately before painting can introduce visible air bubbles. Where the directions allow it, gentle rolling is a useful alternative. If you can still see bubbles in the product, let it settle before applying it.
Mixing before you prepare the nails gives you a natural pause. You can lay out your supplies, check the brush, and finish preparation without feeling that you’re simply waiting around.
There isn’t one reliable waiting time between coats for every polish. Formula, layer thickness, and conditions in the room all matter. Use the manufacturer’s directions as your starting point. Don’t assume that the color is ready for another layer just because its surface no longer looks wet.
Avoid Trying to Force the Surface Dry
Keep the work area ventilated, but don’t aim a hot hair dryer at freshly painted nails. Concentrated heat or strong direct airflow can alter drying at the surface while the layers underneath are still settling. A comfortable room away from direct sunlight is easier to work in than a hot windowsill.
If the bottle has been somewhere unusually cold or hot, let it return naturally to the storage and use conditions on its label. Don’t put nail polish in hot water or near a heater to speed this up. Solvent-containing products may be flammable; observe their warnings and keep them away from flames and heat sources.
Check the Bottle and the Nail Surface
A bottle that used to brush on easily may now leave strings or a heavy ridge. Repeated opening and poor closure can let volatile ingredients escape, leaving lacquer harder to spread thinly. Clean residue from the closure as directed and put the cap back on properly after use.
Don’t pour nail polish remover into the bottle. Removing a finished coating and adjusting a formula are different jobs. Only use a thinner if the polish manufacturer recommends a compatible one. If the product has changed noticeably or you cannot establish that it is still suitable for use, replace it rather than improvising a mixture.
Preparation deserves a separate check. Start with clean, dry nails and remove leftover polish. Lotion, cuticle oil, water, or lint on the nail can interfere with an even coating. You don’t need to scrape or aggressively buff the natural nail to prepare it.
The American Academy of Dermatology’s healthy nail care advice recommends keeping nails clean and dry and avoiding removal of the cuticle. Treat those as nail-care basics, not a reason to chase a perfectly matte or oil-free nail with harsh repeated cleaning.
Change One Thing on the Next Attempt
Suppose your color was smooth until you added top coat. On the next manicure, keep the same color and preparation, but check that the top coat is intended for that polish system and apply it as directed in a thinner layer. If you also replace the base coat, switch brands, and change the drying method, you won’t know which change mattered.
A simple note on your phone is enough. Record the products, whether the bottle was mixed, roughly how heavily you applied each coat, and when you first noticed the problem. These are observations, not a formal product test or proof that a formula is faulty.
For brush marks rather than bubbles, the separate guide to applying matte nail polish without streaks addresses that application problem. Keeping the two issues separate saves a lot of unhelpful repainting.
When Repainting Is the Cleaner Fix
Once pronounced bubbles have set, covering them may leave a heavier and still uneven surface. Remove the polish from the affected nail with a remover suitable for that product, then start again with a thin coat. Avoid poking bumps with a sharp tool or filing down to the natural nail.
For a wipe format, the Nail Polish Remover page describes pressing the wipe against the nail before gently wiping the color away and resealing the container after use. Check compatibility on the actual pack. A remover intended for regular lacquer should not automatically be treated as a gel-removal system.
If the surrounding skin is sore or the nail is painful or swollen, stop treating the situation as a finish problem. Leave the product off and seek appropriate medical advice. The AAD recommends having nail changes, swelling, or pain assessed by a dermatologist.
If you are developing a nail polish line and want to discuss formulas, packaging, samples, or OEM/ODM production, contact BGVE to review your project requirements.
Questions That Come Up During a Manicure
Can Expensive Nail Polish Still Bubble?
Yes. Price doesn’t remove the effects of a heavy application, poor storage, or rushed layering. Check the routine before assuming that a higher-priced bottle will fix the problem.
Should I Add More Top Coat to Hide the Bumps?
Not as the first response. More product can make the coating thicker and change a matte finish to glossy. If the bumps are obvious, removing and repainting the affected nail is usually easier to judge than adding more layers.
Why Are Only Some Nails Affected?
The amount on the brush and the time between coats can vary as you work. Check whether those nails received extra strokes or a heavier layer. Next time, make one deliberate change and compare the result before changing anything else.