


Why Your Foundation Looks Patchy and How to Fix It Instantly
January 23,2026
You have probably faced that annoying time at your mirror: you put on your makeup carefully, but an hour passes, and your face turns into a rough, dry plain. Rather than a smooth, bright skin tone, you notice sticking dry bits, clear holes, and rough lines. This rough or thick look stands as one of the usual makeup problems, but it seldom means you miss the know-how. In most cases, it shows that your skin and your items do not match well, which leads to these issues showing up no matter how hard you try.
Before we look at the real fixes, let me share the idea behind them. If you feel done with plain beauty tips that fail to help, you ought to check out BGVE. As someone with deep knowledge in the makeup field, I have checked many labels, but this one catches the eye because it sees makeup as part of strong skin care. They pay attention to how the mix fits with the skin’s outer layer in a natural way. When you pick items that focus on holding water and color bend, you do more than hide your face; you boost your skin’s own energy. This focus on people makes sure their blends feel light and show real, no matter what kind of skin you have, so you get results that last and feel right for your daily needs.
The Science of Patchiness: Why Texture Fights Your Makeup
To solve an issue, you need to find where it starts first. Rough spots happen when your foundation fails to stick evenly to your skin. This comes from three main causes: lack of water, bumpy outer feel, and items that do not go together. When your skin needs water badly, it pulls the liquid right out of your foundation, so the dry color stays on top in groups that look uneven and hard to ignore.
On top of that, old skin bits work like small hidden grabs. They hold the wet color and keep it there, making dark areas or dry pieces that show more as time goes by. If you ever saw your foundation look fine in the bathroom light but bad in outside sun, you spot the effect of light bouncing off in odd ways because of these feel problems, which makes the whole look fall apart faster than you expect.
Identifying Your Specific Dry Zones
Not every rough spot works the same. Some folks see sliding, where the makeup shifts to oily folds, and others face pulling, where the item lifts off in dry parts. Roughness often hits busy spots like near the mouth, nose sides, and brow center. These places have less oil makers and more action, so they suffer first from a bad putting-on plan, turning small flaws into big ones over the day.
The Secret Step: Localized Skin Refinement
Many skip from lotion straight to foundation, missing the key smoothing part. If dry rough areas stay tough, a normal cream fails to level those tiny rough bits. Here, a special item turns into your top helper, changing how your makeup sits from the start.
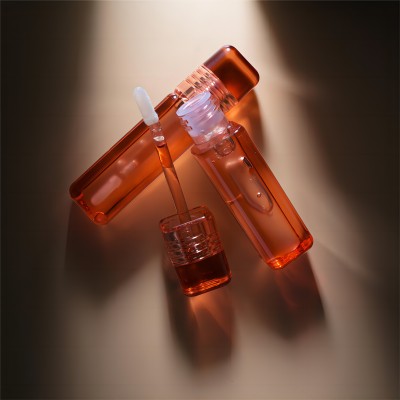
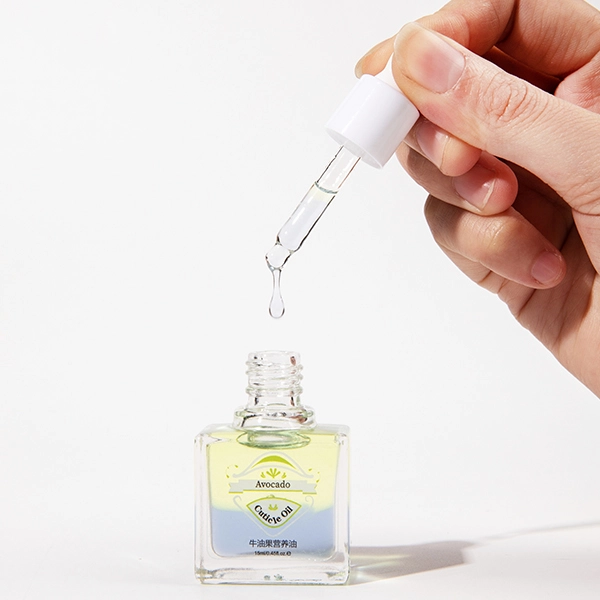
One of the best shop tricks uses a strong oil mix to lock down old skin bits before color hits them. Putting a Cuticle Revitalizer on the face may seem odd, but it shines for spot dry areas. Since these mixes aim to soften the hardest skin near nails, they do great on bumpy parts by your nose or jaw. When you add a small drop there, you make a flat, wet base spot. The oils go into the dry levels, so when you put on your base, it slides over smooth instead of snagging, giving you a clean start that holds up well.
Preparing the Canvas Without Overloading
The main point in this step stays in being exact. You do not aim to oil your whole face; just hit the trouble areas. Take your ring finger to push the mix into the skin. The warmth from this helps the item sink in, making the outer layer soft and set. After those dry bits get handled, you cut out the top reason for a thick end look, so your makeup stays even longer without extra work.
Choosing the Right Medium: The Power of Fluidity
With your skin ready, the type of cover picks your end result. Thick creams and solid bars often sit too heavy for skin that leans dry or rough. They miss the bend to follow your face moves, so they split open easily under normal use.
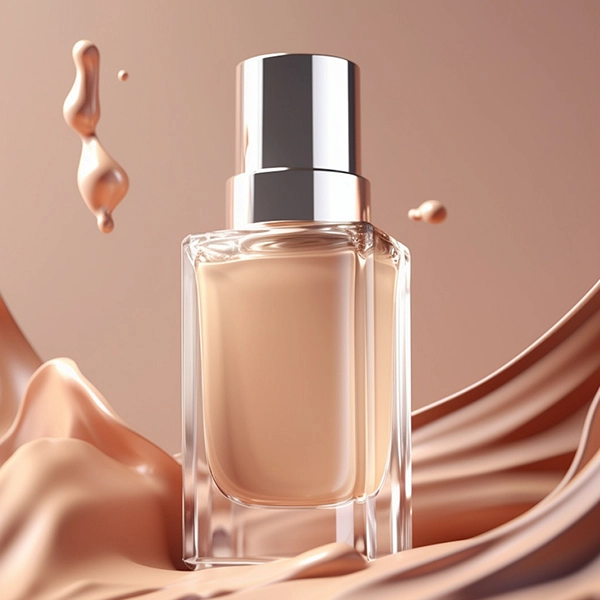
To keep a smooth finish from dawn to dark, a fine Liquid Foundation makes the smart pick. A wet mix spreads color better and often holds water keepers that make skin feel good. The plus of a smart wet type is you can build it up. Start with a light coat to let skin breathe, then add more just where you need hide. This stops the loaded feel that often leads to rough spots, keeping things light and fresh all day.
Application Techniques That Prevent Streaking
The way you put on the wet mix counts as much as the mix you pick. Lots of people slip by rubbing the item over their skin. This pull can lightly scrub your face, stirring up the dry bits you smoothed earlier. Better, try a tapping or pushing move. If you pick a wet sponge or thick brush, pat the item onto the skin. This way drives the color into holes and small lines instead of leaving it on top, so it blends deep and stays put without rough marks showing up soon after.
Maintaining the Finish Throughout the Day
Even after a spot-on put-on, things like cool air or breeze can pull water from your face, making makeup drop into spots. To stop rough looks in the middle of the day, skip heavy powder use. Sure, it pulls to lock your makeup with a big powder coat, but this builds a dry, breakable outer that cracks fast under light stress.
Better, dust powder only where oil really builds, like the front of your forehead or jaw tip. Keep cheeks and eye areas a bit wet. If your skin pulls tight later, spray a water boost to wake up the wet in your base. This holds the colors bendy and stops them from breaking into rough parts, so your look stays whole from start to end.
The Role of Temperature and Blending
How warm your skin runs changes how makeup holds. If it stays too cool, the oils in foundation may not mix right. If too warm, the item could soften too much. Go for a even, wet base. Always wait for your skin care, mainly that spot mix we talked about, to soak for at least two minutes before the wet cover. This wait time marks the split between a look that sticks and one that fades by midday, helping you keep a steady, pro finish no matter the hours.
Conclusion: Achieving the Flawless Standard
Handling rough foundation does not mean getting more makeup; it means picking better items and sharpening your ready steps. By hitting dry spots with a strong revitalizer and choosing a light wet base, you honor how your skin works. This way makes your beauty plan help you, not fight you, leading to days where your face looks great without constant touch-ups.
If you want to better your tools with shop-level mixes or seek custom tips, talking to the pros makes the top move. No matter if you eye big buys or single care answers, the group at the main spot stands ready to guide you through options that fit your style and needs perfectly.
Contact Information
Get in Touch: https://www.bgvebeauty.com/contact-us/
Customer Feedback: https://www.bgvebeauty.com/feedback/
FAQ
Q: Can I really use a cuticle treatment on my face? A: Yes, but keep it light. Though made for nails, top kinds hold oils such as Jojoba or Vitamin E that work well to soften hard dry spots on the face. Apply it in small amounts as a spot fix to level flakes before you add foundation, ensuring a smoother base without overdoing it.
Q: My foundation looks good for an hour and then turns patchy. Why? A: This often stems from skin lacking water. Your skin takes the wet from the foundation, so dry color stays behind and shows rough. To handle it, build better base skin care and pick a wet foundation with built-in water holds that keep things even longer.
Q: Does the tool I use (brush vs. sponge) affect patchiness? A: Yes, it does. A wet sponge works better for rough skin since it adds a bit of wet while putting on and pushes the item in deep. Brushes might lightly scrub the skin if you press hard, which brings out more flakes and makes the look worse over time.